Camera mode make a good shot
One of the scariest and most confusing things when it comes to photography is deciding which camera mode to use. Although auto mode can play a hand of safety CARDS for who just starting photography. But sometimes there is a time when you want or have to take a more suitable camera mode to shoot what you want and fulfill your wish, how do you know how to use other camera modes?
First, I won't discuss any automatic modes. What I want to do here is discuss the specific situation and the appropriate model. I'll explain some of the basics before we get started, so let's get started.
1. The aperture
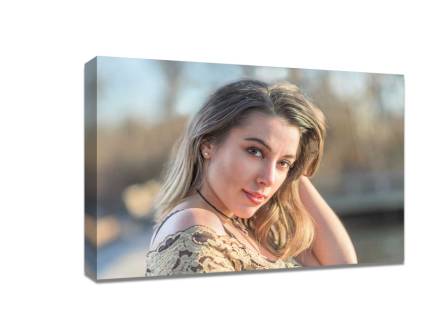
The aperture on your lens is shown as a number, usually a scale. For example, an F / 1.8 lenses with a maximum (widest) aperture will have a very shallow depth of field. The same lens set to F / 16 will have a deeper depth of field. An easy way to remember is that smaller Numbers give you less depth of field, and higher Numbers give you more depth of field. When you want a photo with a blurry background, setting a large aperture to create a shallow depth of field is the key. Aperture priority mode can be used in such cases.
2. Shutter speed
The shutter speed determines how long light hits the sensor as it enters the camera. The faster the shutter speed, the less light the sensor gets. In addition, the shutter speed is directly responsible for how the motion is presented in the image. The shutter speed is expressed as a fraction, such as the 1/125th, 1/60th, or 1/1000 th. A faster shutter speed, like 1/500th of a second, leaves the action still, while a slower shutter speed, like 1/2 a second, or 1 second, or even 30 seconds, shows up as a blur. The longer the shutter speed, the more blurred the motion.

3. The sensitivity
The speed of your camera determines how sensitive it is to light. A lower number, such as ISO 100 or 200, means your camera is less sensitive to light and is generally used in bright conditions, such as in direct sunlight. When light is weak, such as in the shade or indoors, you may use a higher sensitivity, such as 800, 1600, or 3200, to make your camera more sensitive to light. I'll adjust the ISO for different situations, so remember, you can change this setting and don't be afraid to improve your ISO if you need to.
4. Camera mode
Before I go any further, I want to talk about what modes you can use to get the effect you want in a variety of ways. Once you understand the relationship between shutter speed, aperture, and speed, you can do anything you like in any mode.
Automatic camera mode
That is, the camera automatically decides which aperture and shutter speed combination to use according to the situation at that time. Similar to the program's AUTO exposure mode, there is an AUTO mode, which is also used by the camera to determine the shooting combination. The difference is that AUTO also controls whether to start the flash, while P mode does not control the flash.
Especially if you do not have any effect requirements, the program mode is the most appropriate. When your camera is set to program mode, it will give you a proper exposure, which is a very convenient mode when you are shooting casually and just want to make sure your exposure is correct.
Aperture priority
A (Aperture Value) Aperture is preferred. In this way, the operator chooses the desired aperture value, depth, can choose a large aperture (small aperture coefficient), or should choose a small aperture (large aperture coefficient), and the camera will automatically choose the corresponding shutter speed according to the metering value and film sensitivity. In essence, aperture first auto exposure is only a "semi-automatic" exposure because it requires manual aperture setting. In this way, the shutter speed of most cameras is stepless and automatically adjusted, and the actual exposure shutter speed value may not be in the nominal value, but may be 1/478 seconds or 1/117 seconds, etc., to ensure accurate exposure, but what is shown is the closest nominal value, such as 1/500 or 1/125 seconds.
Aperture priority auto exposure is useful when you need to control the depth of field, and is a favorite mode of exposure for most photography enthusiasts. Many photographers believe that aperture first auto exposure is only useful when controlling the depth of field. In fact, it can be used to determine the aperture value as far as possible under the condition of not shaking. A lot of professional photographers use aperture first auto exposure not to select the desired aperture, but to adjust the aperture to get a shutter speed that doesn't shake.
Shutter priority
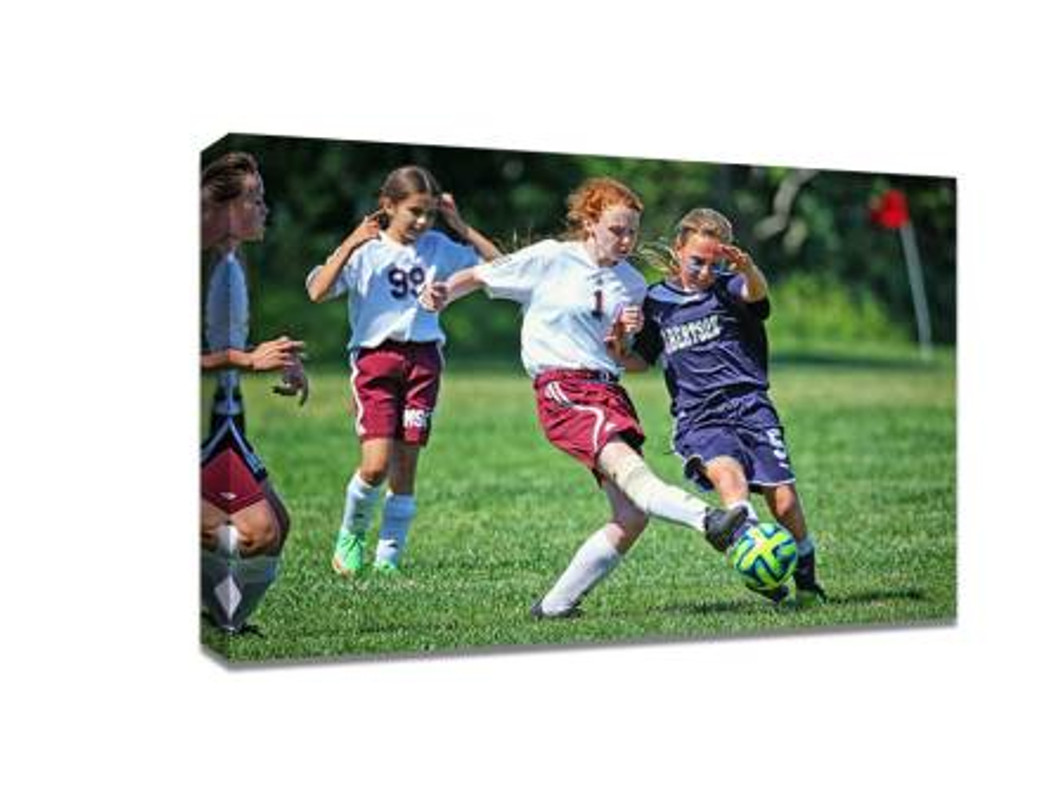
Shutter Value, or speed Value. This mode is a dual mode of aperture priority auto exposure and is also a "semi-automatic" mode, but when the operator chooses the shutter speed, the camera automatically selects the appropriate aperture. Shutter-priority automatic exposure is ideally suited for shooting moving bodies, and the operator can choose a higher shutter speed to "freeze" the moving body image.
However, in the actual shooting, due to insufficient light or lighting, high-speed shutter is not allowed. In particular, when using a zoom lens, the maximum aperture of the lens is relatively small, so the adjustment range is not wide (generally f/3.5 ~ f/32), which limits the application of the shutter priority automatic exposure mode. In addition, the general aperture is adjustable according to the most possible range, so the exposure control precision is not as good as the aperture priority automatic exposure mode.
Shutter priority auto exposure is useful for more dynamic photos. To "freeze" moving images, choose a high-speed shutter; Use a slow shutter speed to take blurry, dynamic pictures.
In general, shutter priority auto exposure is not as common as aperture priority auto exposure.
Manual mode
A shooting mode in which the camera operator manually sets the aperture and shutter speed. Since modern cameras are equipped with metering system, the operator can refer to the metering value of the metering system to choose the corresponding shutter speed and aperture coefficient, the operator can achieve complete control of exposure, creative shooting. When selecting the shutter speed and aperture, the photometric system in the camera will indicate the correct exposure, underexposure or overexposure, etc., to guide the photographer to choose the appropriate exposure combination parameters. This is the most basic exposure mode of the SLR.
As long as the camera has metering manual exposure mode, you cannot use any other auxiliary means (such as exposure compensation, sensitivity automatic setting, etc.); it can cope with any situation shooting. This is one of the most widely used types of exposure, especially one that many professional photographers describe as their favorite. Either the shutter speed or the aperture, manual adjustment can only be adjusted by half, so the accuracy of the manual exposure mode is not as high as the aforementioned aperture priority automatic exposure and the program automatic exposure mode.
Recent Posts
-
What is rolled canvas prints
In the realm of interior decor and artistic expression, canvas prints have emerged as a popular medi …10th Apr 2024 -
The benefits of printing family photos on canvas
In an age dominated by digital screens and fleeting images, the value of printed photographs cannot …7th Apr 2024 -
The best ways to use canvas prints for home decor
In recent years, canvas prints have emerged as a popular choice for home decor, adding style, person …3rd Apr 2024
