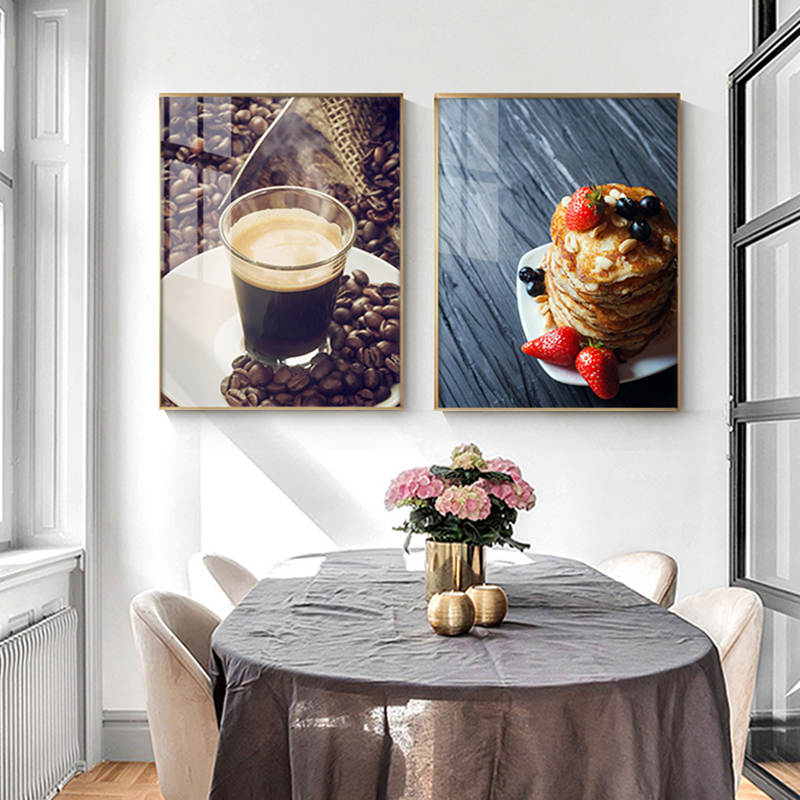
DIY Canvas Printing
Canvas prints have become a popular way to showcase art and photography. Their textured, elegant look adds a touch of sophistication to any space. But purchasing custom canvas prints from professional services can be costly. The good news is that you can create your own stunning canvas prints with a bit of creativity and some DIY spirit. In this article, we'll guide you through the process of DIY canvas printing so you can unleash your inner artist and adorn your walls with your unique creations.
Before you begin your DIY canvas printing project, you'll need to gather some essential materials:
Start with a high-resolution digital image. This can be a photograph you've taken or digital art you've created. Ensure it's in a format that's compatible with your printer (JPEG is the most common).
Purchase blank canvases that are designed for printing. You can find these at art supply stores or online. They come in various sizes, so choose one that fits your image and your available space.
You'll need a high-quality inkjet printer capable of handling canvas. Most modern inkjet printers are suitable for this purpose. Ensure your printer has canvas settings, and you may need to adjust the print settings to match the canvas size.
These are pre-cut or continuous rolls of canvas material that are designed for printing. They often come with adhesive backing to make the stretching process easier.
These are wooden frames that you can use to stretch your canvas over, giving it that traditional canvas look. You can purchase these in various sizes.
Staple Gun: To secure the canvas to the stretcher bars.
You can use this to give your canvas a textured or glossy finish.
Now, let's dive into the step-by-step process of DIY canvas printing.
Start by selecting the digital image you want to print. Make sure it's high-resolution to ensure a clear and detailed print. You might need to make some adjustments in image editing software like Adobe Photoshop or GIMP to get the image just right. Adjust factors like brightness, contrast, and color saturation as needed. Crop and resize the image to match your canvas size.

Ensure that your printer is loaded with the correct type of canvas sheets or rolls and that your settings are configured for canvas printing. Most printers have a variety of settings for different media types, so choose the one that matches your canvas.
Once your image is ready and your printer is set up, print a test image on plain paper to verify that the colors and sizing are correct. Once you're satisfied, proceed to print your image on the canvas material. Be patient during this step, and let the canvas dry completely before moving on.
If you want to add texture or a glossy finish to your canvas, you can apply acrylic gel medium. Use a brush to spread a thin, even layer across the printed canvas, and let it dry. This step is optional and can give your canvas a unique, artistic touch.
Now, it's time to stretch your canvas over the wooden stretcher bars or frame. Start by aligning the image on the canvas with the frame. Make sure you have a slight overlap on each side to ensure a tight fit.
Secure one side of the canvas to the frame using a staple gun. Begin in the middle and work your way out towards the corners, pulling the canvas taut as you go. Continue to staple the canvas around the frame until it's fully secured. Be sure to trim any excess canvas if necessary.
Your DIY canvas print is now ready to be displayed. Find the perfect spot to showcase your masterpiece. Ensure that the room is well-lit to accentuate the details and colors of your artwork.
Recent Posts
-
What is rolled canvas prints
In the realm of interior decor and artistic expression, canvas prints have emerged as a popular medi …10th Apr 2024 -
The benefits of printing family photos on canvas
In an age dominated by digital screens and fleeting images, the value of printed photographs cannot …7th Apr 2024 -
The best ways to use canvas prints for home decor
In recent years, canvas prints have emerged as a popular choice for home decor, adding style, person …3rd Apr 2024