Landscape photography skills and Post-processing experience
Landscape photography skills and Post-processing experience
First of all, I like the landscape photography style; I love bright, clear and rich composition of the picture. Idols include Elia Locardi, Max Rive, Ted Gore, Victor Liu, Dave Morrow and other internationally renowned photographers. If you are interested, you can enjoy their works. Most of the time their pictures are artistic. In addition, their works will not be limited to a certain theme of landscape photography, which is also my goal of learning. The style of each person's photo is also different, which stems from the shooting technique and post-production technique. When you're shooting for a while, you'll naturally find your own process.
For me, the most basic kind of landscape photography is to restore beauty to the naked eye. Many people have said that the naked eye can see more beautiful than the camera. As a matter of course, the dynamic range of the naked eye is much higher than the camera. That's why we need a post-system. The basic goal is to make the photo as visible to the naked eye as possible.
In fact, many people have been shot when there is a scene, home to find the best one; This method can sometimes be a real surprise. What's more advanced is to imagine the composition in your mind first, then try to get the picture, and then use the post system to make the picture better. If you've never been to a place, the first thing you do when you get there is to take a good look at the environment and figure out the composition you want. Rather than rushing to shoot.
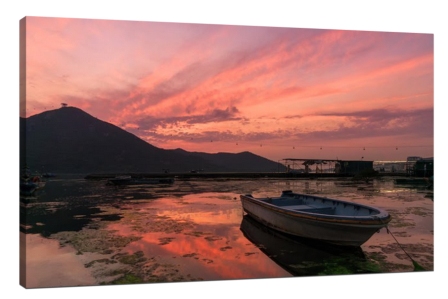
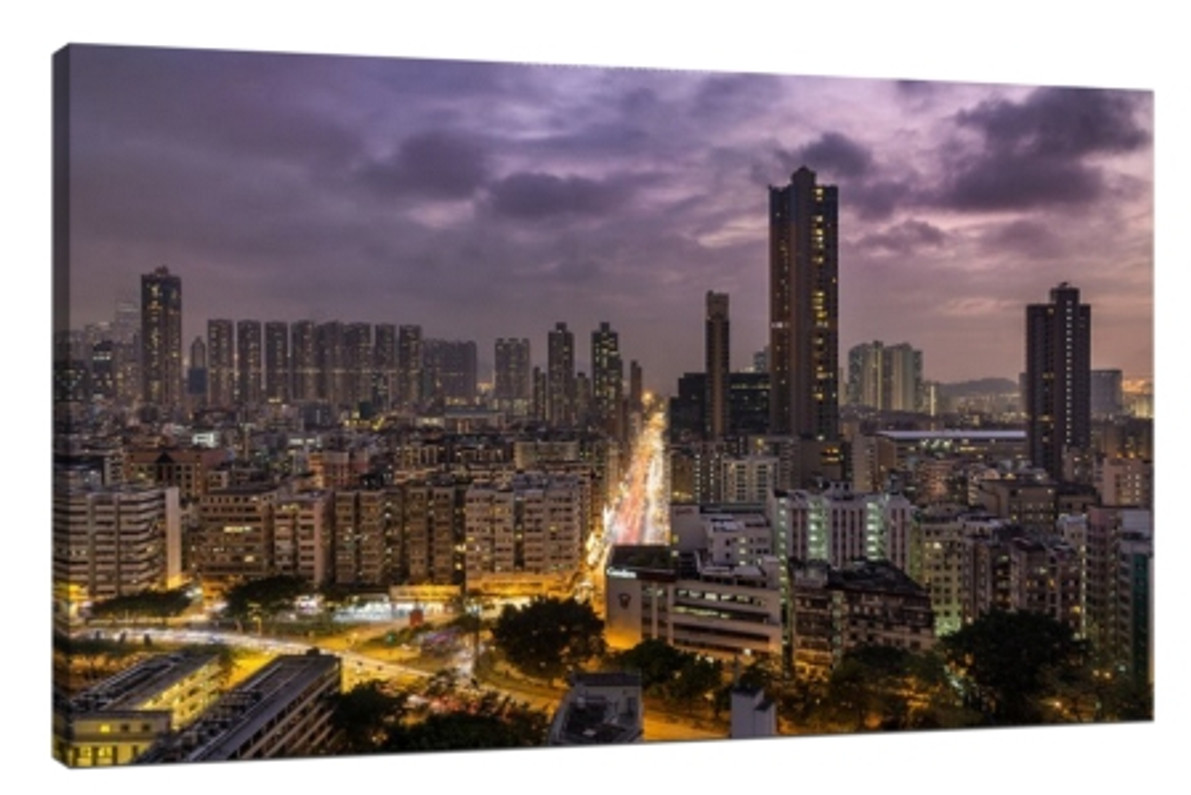
The weather has a great influence on landscape photography, though good pictures can be taken on bad days. But there's no doubt about the importance of the weather, otherwise most people would love Magic Hour. Magic Hour adds a lot of points to photos and adds uniqueness. In Hong Kong, a lot of times we get a shot of Magic Hour with a night view, and it's not just available all over the world. More advanced is the use of Color theory, the ability to master photos Color. Through Color transition, Contrast transition and so on to create a photo atmosphere.
1. Set (Settings)
A lot of people have asked me, what is the setting of a certain photograph? (Shutter, aperture, ISO). The setting of shooting depends on the scene environment. Even if you and I use the same setting, different weather and time in the same environment will not produce the same things. Not to mention the camera and lens are not the same; Even if the same, the differences in post-processing techniques will affect the final image. Therefore, you should ask the right questions. You just need to know some basic principles, and then you go out and film and do experiments. The picture of the master is more than just a picture. You shoot a little more nature to master the skill.
In setting, I tend to use m-mode/a-mode. When photographing landscapes, the aperture is usually f/8-f/11, which is the most Sharp aperture range of the general lens. When you think of everything Sharp in a landscape, you can use deep field. This is called a thin aperture. It's easy to see why, just as when you want to shoot a portrait, you use a large aperture to highlight the subject, but when you go to landscape photography, you need to reduce the aperture to make all the pictures appear clear.
I prefer 100 ISO (ISO) for the best quality. When the aperture and sensitivity are fixed, the only variable is the shutter. Usually, however, the shutter speed must be too slow, and there is a good chance that the photo will be blurred. That's why a professional landscape photographer will definitely have a tripod, so you don't have to worry about shutter speed.
But everything is not absolute, these are just basic principles, some special circumstances require different Settings. For example, when shooting the Milky Way, we will use a very large aperture, such as f/2.8, and a very thin aperture, such as f/22, when we want to shoot the star's rays. One thing to say, though, is that if you use an f/22 aperture, the photo will be Vignette. If you have dust on your sensor, f/22 will show it. The larger the aperture, the less dust you see, but also the black edge. But these problems can be solved by post-processing.

2. The Composition (Composition)
This is a very important subject. In the world of Integra, many people are "Sky lovers." That is, the picture has a large proportion of the sky, and then there is a person at the bottom. If you're such a laconic photographer, I'm not offended. But in order to get started in landscape photography, composition is very important. The foreground is the core element, which many people ignore. But things will be turned on the contrary, too much attention to the prospect of the people are in fact out of control. There is no formula for this knowledge. Appreciate others' masterpieces more and enjoy yourself more.
When it comes to composition, many people prefer to shoot the whole scene with a wide-angle lens, which is the easiest way. But besides, proper use of medium and long focus shooting can also bring different surprises. Telephotography tends to compress the picture.
3. Equipment (Gears)
A) A stable footing, as mentioned above; it’s necessary
B) Shutter release, or shooting with built-in delay; avoid jarring when you press the shutter, or take photos of Time-lapse
C) GND Filter/ND Filter, used for the environment with large difference of sky and ground scene/photographing water flow
D) Black card, a practical tool invented by Taiwanese
E) Lenses with different focal lengths
B. after system (Post - processing)
If you're a straight shooter, I bet you don't really know how to read. As I mentioned, I want the image to be visible to the naked eye; No matter mobile phone or camera, it is difficult to make a straight one (black card is another). The basic method is to use the Camera Raw Filter in Photoshop, Light room. If the Shadow is raised, reduce the highlight and make the front and rear view exposure normal. And then there's Lens correction. You can then adjust the color, contrast, and so on.
Recent Posts
-
What is rolled canvas prints
In the realm of interior decor and artistic expression, canvas prints have emerged as a popular medi …10th Apr 2024 -
The benefits of printing family photos on canvas
In an age dominated by digital screens and fleeting images, the value of printed photographs cannot …7th Apr 2024 -
The best ways to use canvas prints for home decor
In recent years, canvas prints have emerged as a popular choice for home decor, adding style, person …3rd Apr 2024
