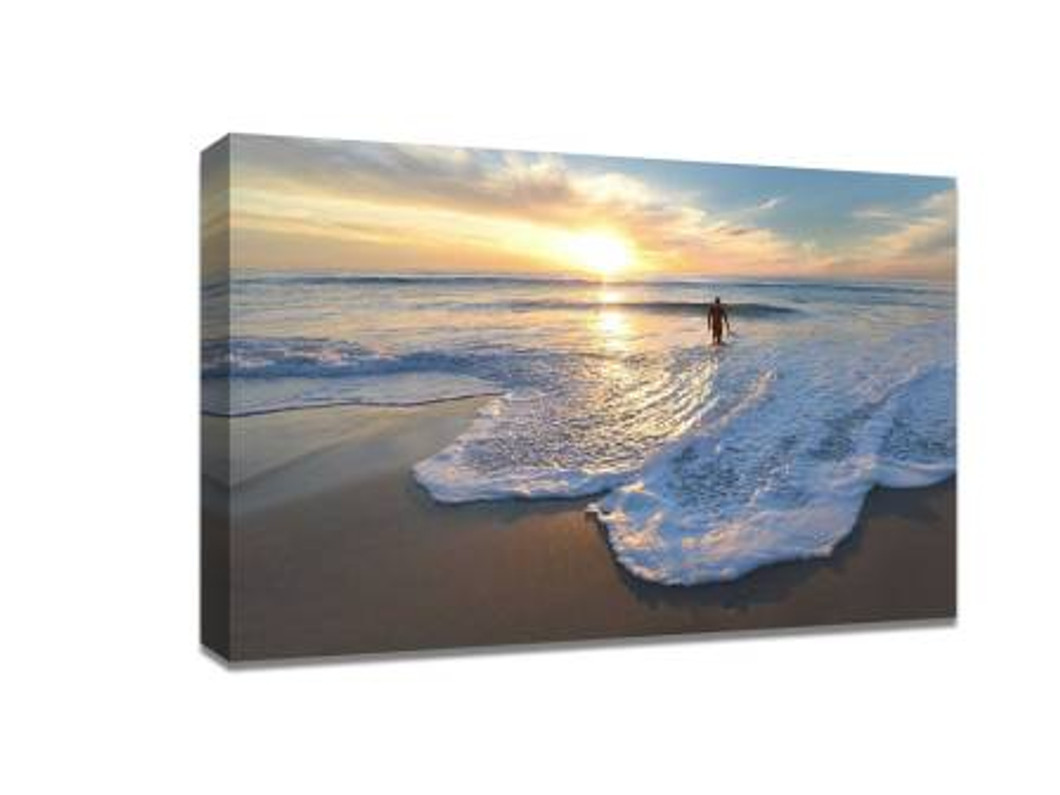
Four Principles of Photographic Composition to Elevate Your Images
Photography is much more than simply pressing a shutter button. Every frame is an opportunity to create art that tells a story, evokes emotion, or captures a fleeting moment in time. Whether you’re shooting with a professional DSLR or a smartphone, understanding the fundamentals of composition can transform your images from ordinary snapshots to extraordinary visuals. By applying these four principles of photographic composition, you’ll create photos that stand out—and look stunning when turned into canvas prints to display in your home or office.
1. The Rule of Thirds: Balancing Your Frame
The Rule of Thirds is one of the most fundamental composition techniques. Imagine dividing your image into nine equal sections using two horizontal and two vertical lines. Placing your subject along these lines—or at their intersections—creates a balanced, visually engaging photo.
Why it matters: When your subject sits dead center, it can feel static. But when placed slightly off-center, the image feels more dynamic and natural. For example, when photographing a sunset over the ocean, placing the horizon on the lower or upper third instead of the middle can dramatically change the image’s impact.
Pro tip: Most cameras and smartphones allow you to turn on a grid overlay, making it easy to apply the Rule of Thirds while shooting. This principle works beautifully for portraits, landscapes, and still-life photography alike.
2. Leading Lines: Guiding the Viewer’s Eye
Leading lines are natural or man-made elements within a photo that guide the viewer’s eye toward the subject or through the frame. Think of roads, fences, rivers, or even shadows—these lines create depth and direct attention.
Why it matters: Leading lines add movement and flow to your image. They invite the viewer to “travel” through the photo, making it feel immersive. A winding path in a forest, for instance, can draw the viewer into the scene, creating a sense of discovery.
Pro tip: Experiment with different angles. Shooting from a low perspective can make leading lines more dramatic, while diagonal lines often add energy and tension. This technique is especially effective when planning large-format prints, as the viewer’s eye naturally moves across the artwork.
3. Framing: Creating Context and Depth
Framing involves using elements within the scene to create a “frame” around your subject. This could be anything from archways, windows, or tree branches to architectural features. By surrounding your subject with a frame, you emphasize it while adding depth and context.
Why it matters: Framing can transform a flat-looking photo into a layered, three-dimensional image. It also gives the viewer a sense of “peeking” into a moment, which makes the photo more compelling.
Pro tip: Look for natural frames in your environment—doorways, fences, foliage—and use them to guide the viewer’s attention toward your subject. This technique can also add a sense of story, like capturing a couple through a café window to create intimacy.
4. Simplicity and Negative Space: Letting Your Subject Breathe
In a world of clutter, simplicity can be striking. Negative space refers to the empty or “quiet” areas around your subject. By minimizing distractions, you make your subject stand out and your composition stronger.
Why it matters: Busy backgrounds can compete with your subject, making the photo feel chaotic. Embracing negative space creates a minimalist, elegant image that draws the viewer’s focus exactly where you want it.
Pro tip: When shooting portraits, choose a plain background or use a shallow depth of field to blur out distractions. For landscapes, a lone tree against an open sky can be more powerful than a crowded forest scene. This clean, bold style also translates beautifully into wall art and large-format prints.
Putting It All Together
Mastering these four principles—the Rule of Thirds, Leading Lines, Framing, and Simplicity—will give you the tools to create images that are visually stunning and emotionally resonant. The more you practice, the more intuitive these techniques become, allowing you to experiment and develop your own style.
Once you’ve captured an image you love, the next step is to showcase it. Turning your best photographs into high-quality canvas prints can elevate them even further, transforming your work into timeless pieces of art. Canvas prints not only enhance the colors and textures of your photos but also provide a professional, gallery-like finish that stands the test of time.
From Click to Canvas
Great photography is about intention. By applying these four composition principles, you’re not just taking pictures—you’re creating art. And when your art deserves more than just a spot on your phone or hard drive, consider printing it on canvas. Displaying your photos as canvas prints adds character to your living or working space and allows you to enjoy your creative achievements every day.
Whether you’re an amateur looking to improve or a seasoned photographer refining your craft, these simple yet powerful principles will help you capture images that resonate—and look extraordinary in any format.
Recent Posts
-
Tips for Finding the Best Canvas Printing Deals for Your Business
When running a business, creating an inviting and professional atmosphere is key to making a lasting …4th Feb 2026 -
The Best Canvas Printing Options for Artists Selling Limited Edition Prints
For artists who sell limited edition works, choosing the right printing method is just as important …3rd Feb 2026 -
Why Canvas Prints Are the Best Way to Showcase Family Portraits
Family portraits are not just photos; they are priceless memories that tell the story of your family …30th Jan 2026
