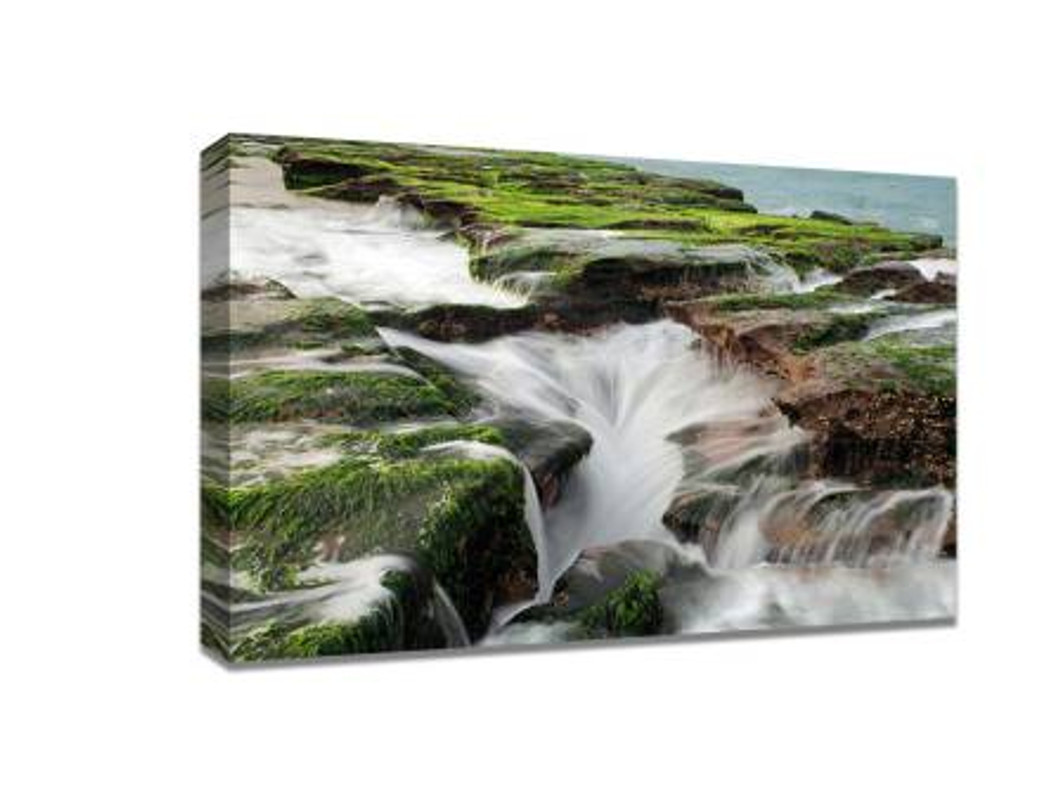
Master Camera Settings to Easily Capture Stunning Scenery
Photography is not just about pointing your camera at a beautiful landscape; it’s about understanding your tools and mastering your camera settings to bring out the best in every scene. Whether you’re a beginner or an experienced photographer, learning how to control your camera can make the difference between an average photo and a breathtaking image ready to be displayed as canvas prints Australia. In this blog, we’ll explore essential camera settings and practical tips to help you take stunning scenery shots every time.
1. Understanding Your Camera: Modes and Functions
Most cameras, whether DSLR, mirrorless, or even advanced compact cameras, offer multiple shooting modes. Knowing which mode to use for different scenes is crucial:
-
Manual Mode (M): Gives you full control over shutter speed, aperture, and ISO. Essential for learning how each setting affects your photos.
-
Aperture Priority (A/Av): You set the aperture, and the camera adjusts the shutter speed. Ideal for controlling depth of field in landscapes.
-
Shutter Priority (S/Tv): You set the shutter speed, and the camera adjusts the aperture. Perfect for capturing movement in water or clouds.
-
Program Mode (P): Offers automatic settings with some flexibility. Great for beginners who want guidance while experimenting.
Mastering these modes ensures you can handle any lighting or environmental condition, making your scenery shots more vibrant and precise.
2. Mastering Exposure: ISO, Aperture, and Shutter Speed
Exposure is the backbone of great photography. Each element contributes differently:
-
ISO: Determines your camera sensor’s sensitivity to light. Keep ISO low (100–400) for daytime landscapes to avoid noise. Increase only in low-light conditions.
-
Aperture (f-stop): Controls depth of field. Wide apertures (f/2.8–f/5.6) create a blurred background, while narrow apertures (f/11–f/16) keep the entire scene in focus.
-
Shutter Speed: Controls motion blur. Fast shutter speeds (1/500s or faster) freeze action, while slow speeds (1/2s–2s) create smooth effects in moving water or clouds.
Balancing these three settings is key. Use a tripod when experimenting with slow shutter speeds to avoid unwanted blur, especially in sunrise or sunset shots.
3. Focusing Techniques for Scenic Shots
Accurate focus ensures your photos are sharp and detailed. Landscape photography often benefits from:
-
Hyperfocal Distance: Focus on a point that maximizes depth of field, keeping both foreground and background sharp.
-
Manual Focus: Sometimes autofocus struggles in low light or complex scenes. Switching to manual focus gives more control.
-
Focus Peaking (if available): Highlights in-focus areas in the viewfinder, helping achieve precise focus.
By mastering focus techniques, your scenery shots will look professional and ready for large-format displays such as canvas prints.
4. Composition Matters
Even the best camera settings can’t save a poorly composed image. Some timeless composition rules include:
-
Rule of Thirds: Divide your frame into thirds horizontally and vertically, placing key elements along these lines or intersections.
-
Leading Lines: Use natural lines like rivers, roads, or fences to guide the viewer’s eye through the scene.
-
Foreground Interest: Adding objects like rocks, flowers, or trees in the foreground enhances depth.
-
Framing: Utilize natural frames such as archways, branches, or windows to add perspective.
Experiment with different angles and viewpoints. Changing your position even slightly can turn an ordinary shot into a spectacular one.
5. Lighting and Golden Hours
Natural light transforms landscape photography. The best times to shoot are during:
-
Golden Hour: Shortly after sunrise or before sunset, when sunlight is soft and warm.
-
Blue Hour: Just before sunrise or after sunset, offering cool tones and subtle contrasts.
-
Avoid Harsh Midday Light: Midday sun can create harsh shadows and reduce color saturation.
Use reflectors or filters, like polarizing filters, to reduce glare and enhance colors, especially when shooting skies or water surfaces.
6. Post-Processing Tips
Even perfectly shot images can benefit from light editing:
-
Adjust brightness, contrast, and saturation to enhance natural colors.
-
Correct lens distortions and horizon tilts.
-
Apply sharpening selectively to bring out details.
Always maintain a natural look; over-editing can make your images appear unrealistic. High-quality edits make your photographs stand out, especially if you plan to print them as canvas prints Australia for home or office decoration.
7. Practical Tips for Scenic Photography
-
Carry a lightweight tripod for stability.
-
Use remote shutter or self-timer to avoid shake.
-
Scout locations in advance for the best angles and lighting.
-
Keep extra batteries and memory cards for longer outings.
-
Experiment with filters for creative effects.
By combining strong technical knowledge, artistic composition, and practical field techniques, capturing stunning scenery becomes much easier. Every photograph you take has the potential to be transformed into a beautiful piece of wall art, perfect for displaying as canvas prints in your home.
Mastering your camera settings is the first step toward taking incredible landscape photographs. With practice and patience, you’ll be able to capture scenes that are vivid, dynamic, and ready to impress when printed as canvas prints Australia. Start experimenting today, and watch your photography transform into gallery-quality imagery.
Recent Posts
-
The Art of Decorating with Extra Panoramic Canvas Prints
When it comes to transforming a blank wall into a striking visual statement, few decor elements are …20th Feb 2026 -
How to Turn Your Dog’s Photo into Stunning Dog Canvas Prints
Dogs are more than pets—they are family. From muddy paw prints on the floor to loyal eyes waiting at …19th Feb 2026 -
From Wedding Photos to Pet Portraits: Creative Uses for Custom Canvas Prints
Canvas prints are one of the most versatile and enduring ways to showcase your precious memories. Wh …15th Feb 2026
