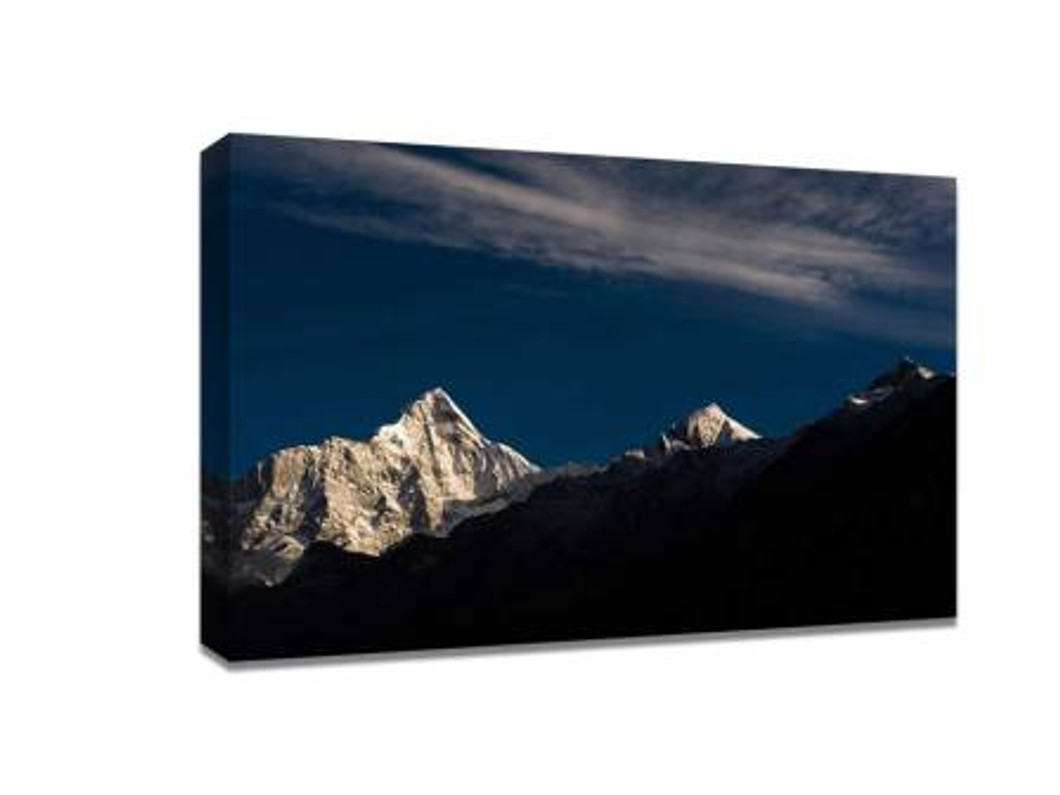
Mountain View and Waterscape Shooting Strategy: Capture Stunning Landscapes for Photo on Canvas
Capturing the grandeur of mountains and the serenity of waterscapes is both an art and a science. Whether you are a professional photographer or an enthusiastic hobbyist, understanding the right techniques can help you create stunning images that deserve to be showcased, even as a photo on canvas https://www.customcanvasonline.com.au/photo-on-canvas/. In this guide, we’ll explore strategies to shoot mountain landscapes and waterscapes that convey depth, scale, and emotion.
1. Understand the Location
Before you even pick up your camera, research your shooting location. Mountains and water bodies are affected by seasonal changes, weather conditions, and light angles.
-
Topography: Study the contours, peaks, valleys, and surrounding terrain. This helps in planning compositions and anticipating natural framing elements like trees, rocks, or cliffs.
-
Water behavior: Rivers, lakes, and coastal waters change with tides, wind, and rainfall. Observe patterns to capture reflections, ripples, or long-exposure silky water effects.
-
Accessibility and timing: Early mornings or late afternoons often provide golden light and minimal tourist interference. Scout your location in advance if possible.
A well-researched location sets the foundation for compelling mountain and waterscape photography.
2. Composition Techniques for Mountains
Mountains demand strong compositional choices to convey majesty and scale.
-
Rule of thirds: Place the horizon along the upper or lower third of your frame to balance sky and land.
-
Foreground interest: Include rocks, wildflowers, or paths in the foreground to create depth.
-
Leading lines: Use rivers, ridges, or trails to guide viewers’ eyes toward peaks.
-
Framing: Trees, archways, or natural rock formations can act as frames, adding dimension to your shot.
Remember that mountains are often massive; wide-angle lenses can help capture the full scene while maintaining clarity. For large prints, consider how your composition will translate into a photo on canvas.
3. Capturing Waterscapes
Water introduces a reflective, dynamic element to landscapes. To enhance your waterscape shots:
-
Reflections: Calm mornings or evenings often produce mirror-like reflections. Position yourself at a low angle to emphasize symmetry.
-
Movement: Use long exposure (1–10 seconds) for rivers or waterfalls to achieve a silky, ethereal effect. Conversely, fast shutter speeds can freeze splashes and waves for a more dramatic feel.
-
Color and contrast: Enhance natural colors by shooting during golden hour or using polarizing filters to reduce glare.
-
Foreground elements: Stones, logs, or vegetation near the water’s edge can create depth and lead the eye.
Balanced waterscape photography often works well with panoramic crops or large canvas prints.
4. Lighting Strategies
Lighting can make or break a mountain or waterscape image. Key considerations include:
-
Golden hour: The hour after sunrise and before sunset provides warm, soft light ideal for depth and color saturation.
-
Blue hour: The period just before sunrise or after sunset offers a calm, moody ambiance perfect for waterscapes.
-
Directional light: Side lighting emphasizes textures on mountain ridges, cliffs, and water ripples.
-
Avoid harsh midday light: Strong overhead sun flattens features and produces unwanted shadows or highlights.
Planning around light not only enhances the photograph but also ensures it translates beautifully as a photo on canvas.
5. Equipment and Camera Settings
While skill matters most, the right equipment helps execute your vision:
-
Camera: DSLRs or mirrorless cameras with manual control offer flexibility.
-
Lenses: Wide-angle lenses capture vast landscapes, while telephoto lenses isolate distant peaks or reflections.
-
Tripod: Essential for stability in long exposures, low-light conditions, and precision composition.
-
Filters: Polarizers enhance water and sky, while neutral density filters allow creative long exposures.
-
Settings: Shoot in RAW for maximum editing flexibility. Adjust aperture for depth of field (f/8–f/16 recommended for landscapes).
Investing in quality shots upfront ensures your work will remain sharp and vibrant, whether displayed digitally or printed as a photo on canvas.
6. Post-Processing and Printing Considerations
Editing is the final step in turning raw captures into art:
-
Adjust exposure and contrast: Highlight textures without overexposing bright areas.
-
Color correction: Ensure natural tones in mountains and waterscapes.
-
Cropping: Refine composition for balance and focus.
-
Sharpening: Essential for large prints to maintain clarity and detail.
When creating a photo on canvas, consider how colors and contrast will appear once printed. Rich, well-balanced images translate beautifully to canvas, giving your photographs a gallery-quality presence.
7. Storytelling and Emotion
Ultimately, mountain and waterscape photography is about storytelling. Ask yourself:
-
What mood am I trying to convey?
-
Does my composition draw viewers into the scene?
-
Can this image evoke a sense of wonder, peace, or adventure?
A technically perfect image may fall flat without emotion. Consider how your photographs could decorate a home or office as a photo on canvas, leaving viewers inspired every time they see it.
Mastering mountain view and waterscape photography requires patience, planning, and practice. By focusing on location, composition, lighting, and post-processing, you can create breathtaking images worthy of a photo on canvas. Whether for personal enjoyment or professional display, these strategies ensure your landscape photography captures both beauty and emotion.
Recent Posts
-
How to Make Your Custom Large Canvas Prints Last for Years
Custom canvas prints can transform any space with personalized art that feels timeless. Whether you’ …28th Jan 2026 -
Best Cheap Canvas Prints in 2026: How to Get Gallery-Quality Without Overspending
Decorating your home, office, or creative space doesn’t have to come with a premium price tag. In 20 …28th Jan 2026 -
Canvas Printing for Artists: A Complete Guide to Turning Artwork into Gallery-Ready Prints
For artists, turning original artwork into professional, gallery-ready prints is both an opportunity …23rd Jan 2026
