Take Good Photos with Natural Light: Tips for Stunning Images Every Time
Natural light is one of the most powerful tools in photography—it’s free, abundant, and can transform ordinary shots into stunning works of art. Whether you’re taking portraits, landscapes, or lifestyle images, understanding how to use natural light effectively will help you capture photos worthy of being displayed as canvas prints online in your home or given as thoughtful gifts.
In this blog, we’ll explore practical techniques, common pitfalls to avoid, and creative ideas to help you make the most of natural light in your photography.
1. Understand the Types of Natural Light
Natural light changes throughout the day, and each time offers a different mood and effect for your photos:
-
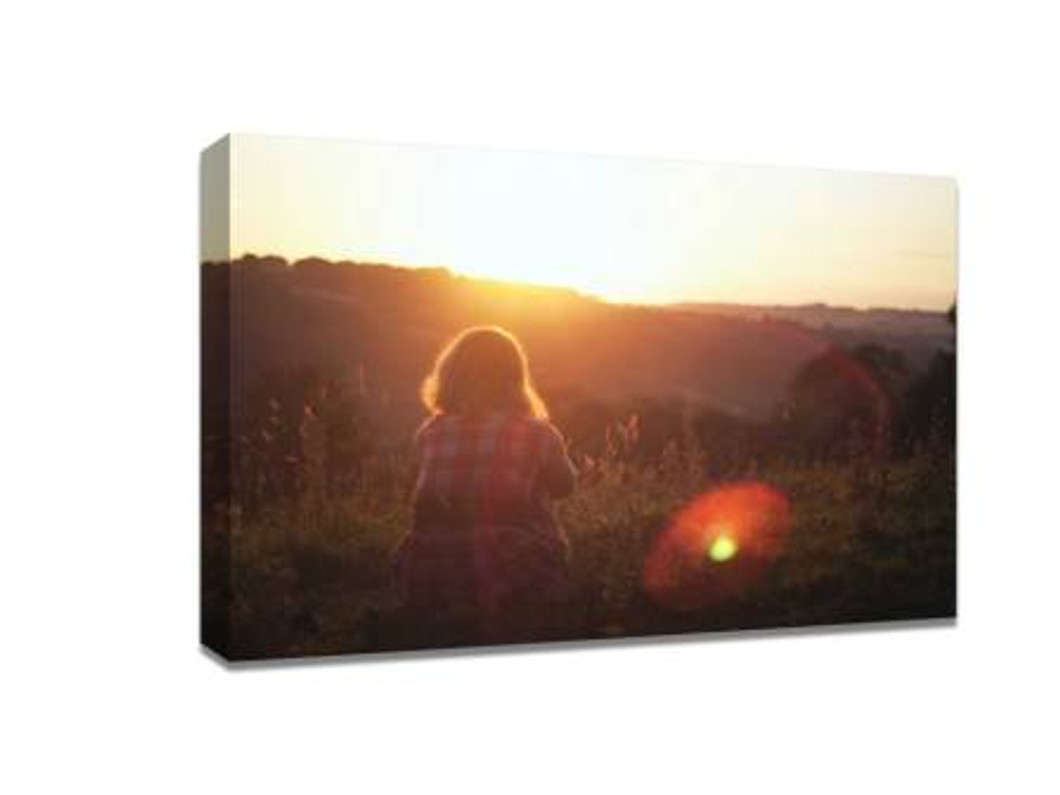
Golden Hour (just after sunrise and before sunset): Soft, warm light with long shadows—perfect for romantic portraits and landscapes.
-
Midday Light: Bright and intense, but can be harsh and create strong shadows. Works well for high-contrast scenes or when using shade as a diffuser.
-
Overcast Light: Cloudy days produce diffused, even light, ideal for portraits with minimal shadows and balanced colors.
By recognising the type of light available, you can plan your shoot to match the mood and style you want.
2. Use Directional Light to Your Advantage
The direction of the light source significantly impacts the look of your photo:
-
Front Lighting: Illuminates your subject evenly, reducing shadows—great for showing detail.
-
Side Lighting: Adds depth and dimension, ideal for artistic portraits or textured subjects.
-
Backlighting: Creates silhouettes and soft glows, particularly effective during sunrise or sunset.
Experimenting with light direction allows you to tell different visual stories without changing the subject.
3. Avoid Harsh Shadows with Diffusion
Direct sunlight can be too intense, especially during midday, creating unflattering shadows and blown-out highlights. Use these tricks to diffuse the light:
-
Find Shade: Position your subject under a tree, building, or umbrella.
-
Use Sheer Curtains: Indoors, thin fabrics can soften sunlight streaming through a window.
-
Cloudy Days Are Your Friend: Overcast skies act as a natural diffuser.
This helps you capture smoother, more flattering images that are easier to edit.
4. Position Your Subject Correctly
Light placement is key for balance and mood:
-
Place your subject so the light falls at a 45-degree angle for depth and natural shadows.
-
For window light, have your subject face toward the window for even illumination.
-
Avoid positioning your subject directly under overhead sunlight unless you want dramatic shadows.
5. Use Reflectors for Balanced Lighting
If one side of your subject is too dark, a reflector can bounce light back and reduce shadows. You don’t need professional gear—white foam boards, mirrors, or even light-colored walls work well.
6. Control Exposure for Best Results
Natural light can vary in brightness, so adjusting your camera settings is essential:
-
Lower ISO (100–200) to reduce grain in bright conditions.
-
Adjust aperture to control depth of field and light intake.
-
Use faster shutter speeds in bright light to avoid overexposure.
For smartphone photography, tapping on the subject to adjust focus and exposure can make a significant difference.
7. Match Light Quality with Subject Mood
The quality of natural light should match the story you want to tell:
-
Soft light = romantic, peaceful, intimate scenes.
-
Harsh light = bold, dramatic, high-energy shots.
When you align light mood with subject matter, your images will have stronger emotional impact.
8. Post-Processing for Natural Light Photos
Even the best natural light photos can benefit from subtle editing:
-
Increase Contrast: To add depth without making shadows too harsh.
-
Adjust White Balance: Corrects color tones for warmer or cooler looks.
-
Highlight Recovery: Helps bring back detail in bright areas.
This ensures your photos print beautifully, especially when enlarged for wall display.
9. Why Natural Light Photos Look Best in Print
Photos taken with natural light tend to have richer tones, softer shadows, and a more authentic feel. When printed—especially on canvas—the texture and warmth of the image are enhanced, creating a timeless art piece for your space.
Whether you’re a professional photographer or a hobbyist, capturing great shots with natural light means you’ll have images you’re proud to display for years.
Final Tip: The key to mastering natural light photography is practice. Observe how light changes throughout the day, experiment with different positions and angles, and don’t be afraid to break the rules when creativity strikes. With time, you’ll instinctively know how to harness natural light to create captivating photos ready for display or printing.
Recent Posts
-
The Art of Decorating with Extra Panoramic Canvas Prints
When it comes to transforming a blank wall into a striking visual statement, few decor elements are …20th Feb 2026 -
How to Turn Your Dog’s Photo into Stunning Dog Canvas Prints
Dogs are more than pets—they are family. From muddy paw prints on the floor to loyal eyes waiting at …19th Feb 2026 -
From Wedding Photos to Pet Portraits: Creative Uses for Custom Canvas Prints
Canvas prints are one of the most versatile and enduring ways to showcase your precious memories. Wh …15th Feb 2026
